Behavioral Cloning
Python, OpenCV, TensorFlow
Goals
The goal of this project is to simulate a self-driving car behavior using a neural network by teaching the network to drive. The network will be trained to drive around a track using the behavior cloning algorithm. There are two tracks in this project, one is an easy track without inclination and the other is a harder track with inclination.
My project includes the following files:
- model.py containing the script to create and train the model
- drive.py for driving the car in autonomous mode
- model.h5 containing a trained convolution neural network
Model Architecture
The code for training and storing the convolution neural network is included in the model.py file. The file has comments that describe how the code works and displays the pipeline I used for training and evaluating the model. As a result of the adoption of the NVIDIA Self Driving Cars Model, my model consists of 5 layers of convolution neural network and 4 fully connected layers (code line 119 - 149). The model incorporates RELU operations to induce nonlinearity (code lines 132-137), and the data is normalized using a Keras lambda layer (code line 126). In addition, I used 2D cropping to let the model just view the road (code line 129).
Dropout layers are used in the model to minimize overfitting (model.py lines 140, 142, 144, and 146). To guarantee that the model was not overfitting, it was trained and verified on several data sets (code line 172). The model was evaluated in the simulator to ensure that the car could remain on the course.
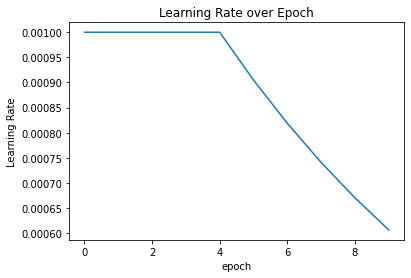
Because the model employed an Adam optimizer, the learning rate was not explicitly tweaked (model.py line 219). However, since the training had no effect on val loss after 5 epochs, I used Keras’ LearningRateScheduler and implemented exponential decay (code line 199). In addition, I utilize checkpoint to store the best model (code line 206-212). This helps me to confirm that my model is properly fitted, neither over or under fitted.
The training data were selected to keep the car on the road. I drove in the middle lane, recovered from the left and right sides of the road, and drove in the other way.
Solution Design Approach
The general goal for developing a model architecture was to forecast the steering angle using visual data.
My initial step was to employ a convolution neural network model like the NVIDIA Architecture. This model seemed fitting to me because it is used in self-driving automobiles. The model extracts mode information from the picture using five convolutional layers, and four fully connected layers compute the output of the steering angle required to operate the automobile.
To see how well the model was doing, I separated my picture and steering angle data into training and validation sets. On the training set, my first model had a low mean squared error but a large mean squared error on the validation set. This meant the model was overfitting. To counteract overfitting, I changed the model by inserting four more dropout procedures after each thick layer. For training, the dropout rate was set to 0.5.
The data was then enhanced by flipping it, normalizing all input, and making it have zero variance. The image is then cropped to show only the road in order to enhance the model. Using three cameras instead of one from the center also helps the model perform better. To compensate for the situation, I applied angle correction for the left and right cameras (code line 61-74).
The next stage was to run the simulator to assess how well the car handled track one. At the end of the procedure, the car may drive around the track independently without leaving the road. The final model architecture (model.py lines 119-148).
Here is a visualization of the architecture (note: visualizing the architecture is optional according to the project rubric)

Creation of the Training Set & Training Process
To capture good driving behavior, I first recorded two laps on track one using center lane driving. Here is some examples of center lane driving from 3 cameras on the car:
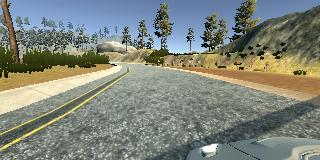
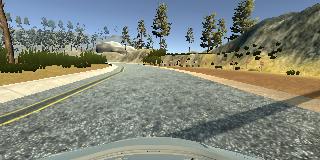
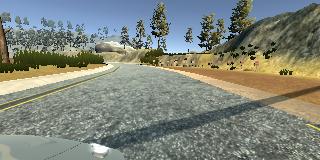
I then videotaped the car returning to the center lane from the left and right sides of the road so that the vehicle would learn to return to the center lane when it went off track.
I then repeated the process on track two to collect more data points.
To supplement the data, I swapped photos and angles in the hope that this would improve the model’s overall performance.
I had 93003 data points for both tracks after the gathering procedure. I then preprocessed the data by normalizing it, using zero mean variance, and clipping off the superfluous parts of the image.
Finally, I mixed the data set at random and put 20% of it into a validation set.
This training data was used to train the model. The validation set assisted in determining if the model was over or under fitting. As I utilized LearningRateScheduler to tune the learning rate, the best number of epochs was 10.
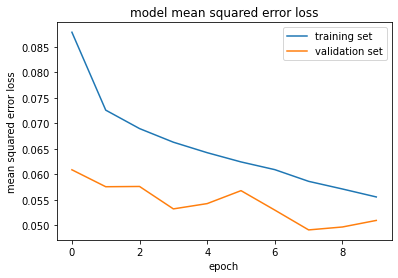
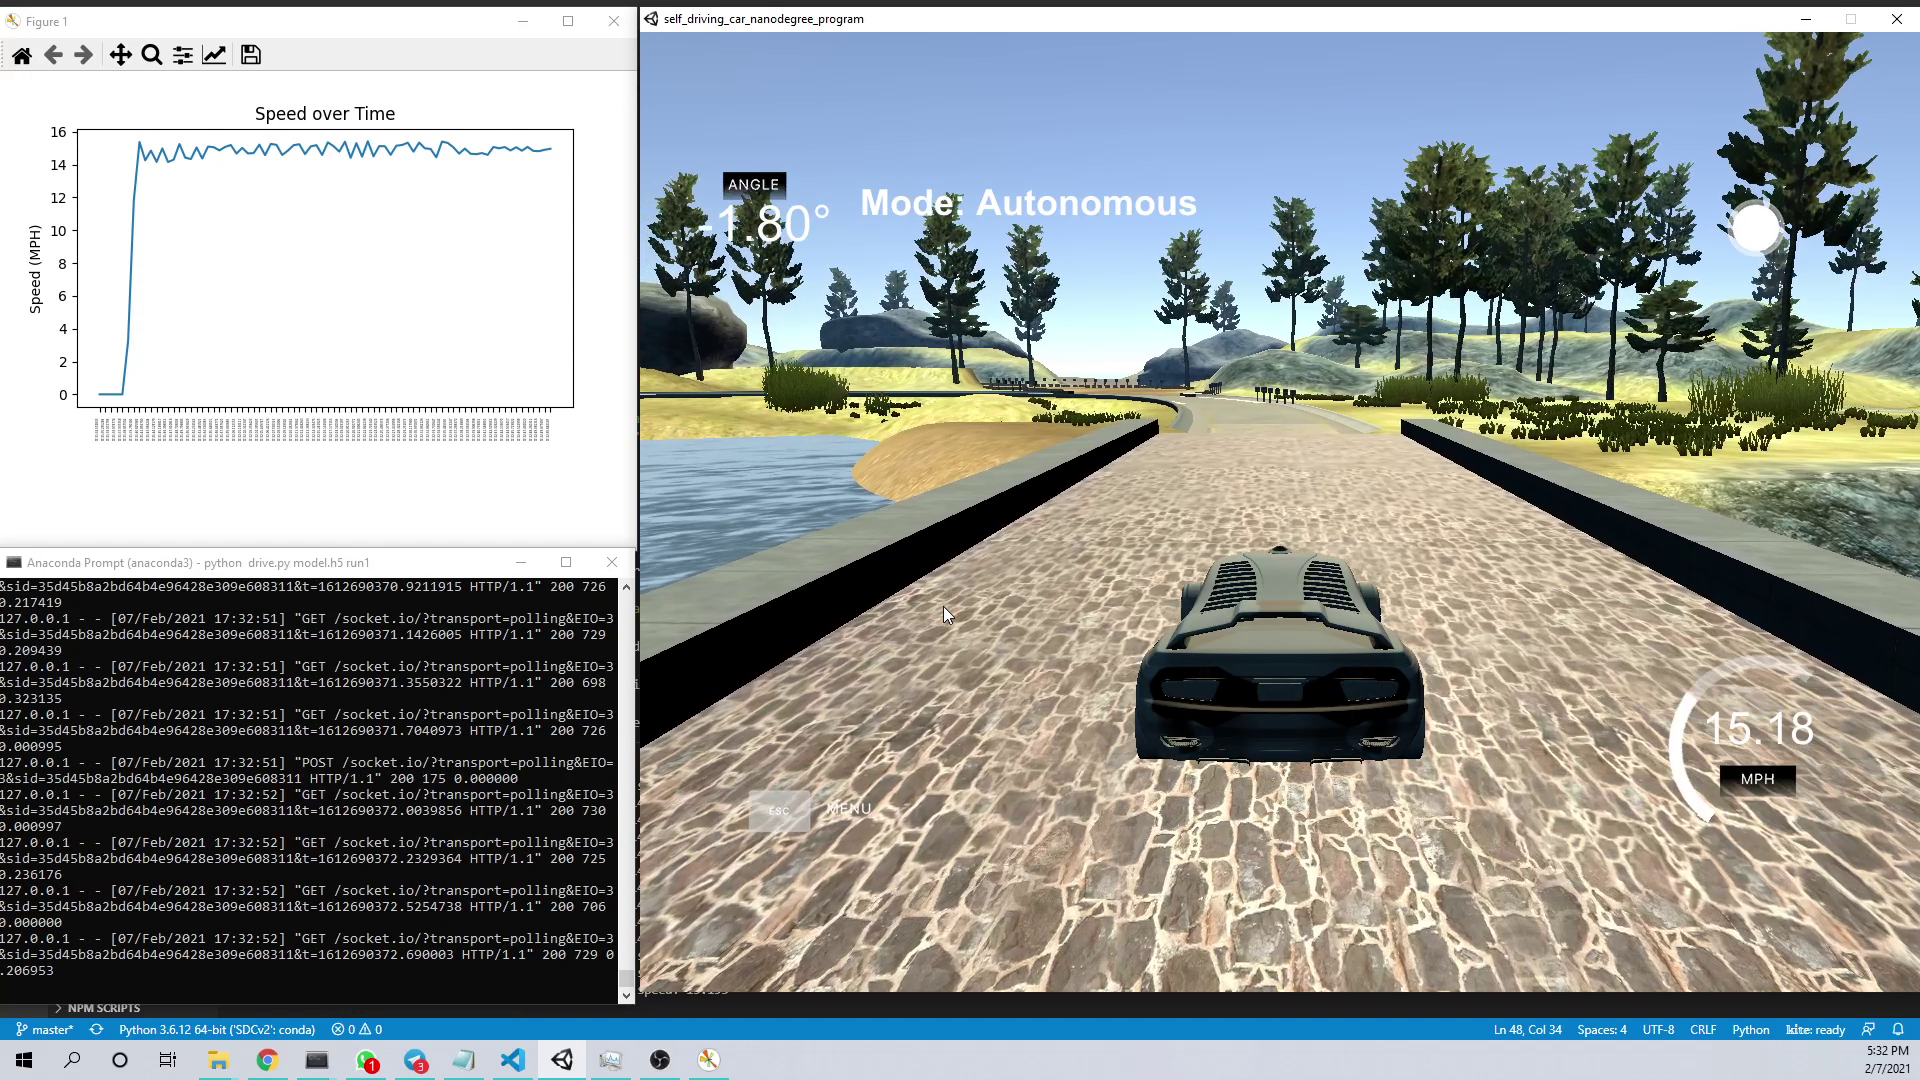
After I tested, the model is good enough to let the car travel on both tracks smoothly. I modified the PI value and the desired speed in both tracks to optimize the result. The speed was set to 15 for track 1 and 12 for track 2 due to its extreme condition.
Below is the speed visualization for track 1 from 0 to its desired speed.
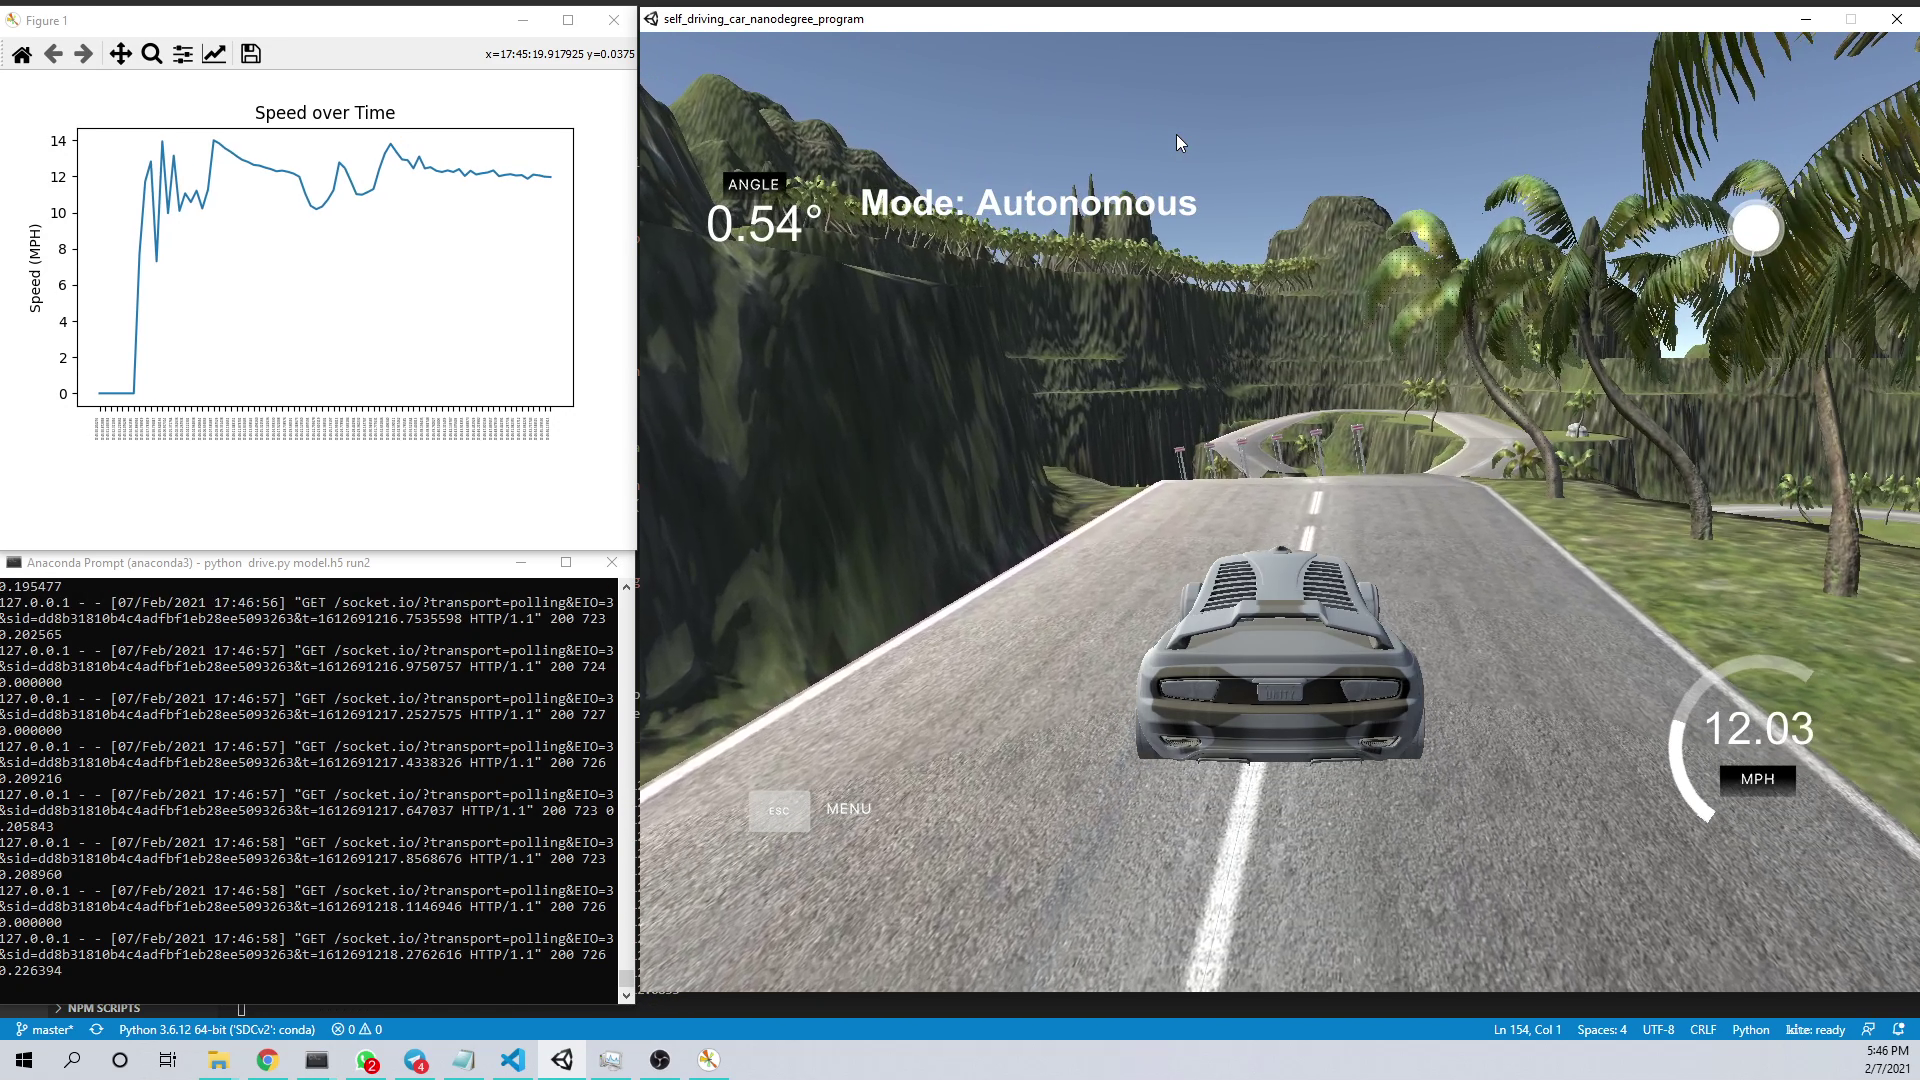
For video details, please see the video on YouTube.
- Track 1: https://youtu.be/l-x-aWIBZE8
- Track 2: https://youtu.be/Fw1iGXFu2Ro